Retired after working 42 years as an operating engineer and Senior Training Officer with Ontario Hydro and Ontario Power Generation. As a power plant operator at Nanticoke Generating Station, I became involved in operator training with the introduction of power plant simulators in the 1990’s. Training became the second half of my career and my duties expanded to include power system training in Fossil, Hydroelectric and even Nuclear stations as well as development of simulators for water management and dam safety training in Hydroelectric.
My hobbies include:
Photography
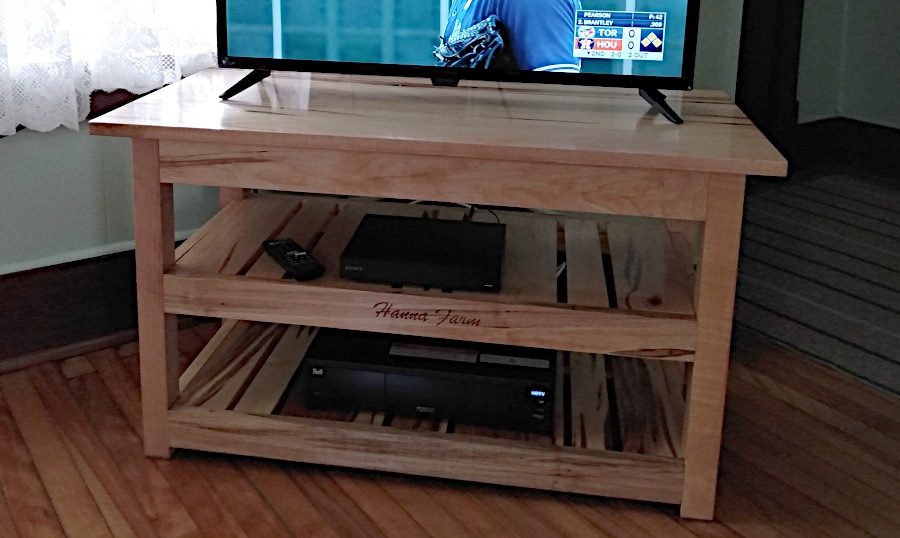
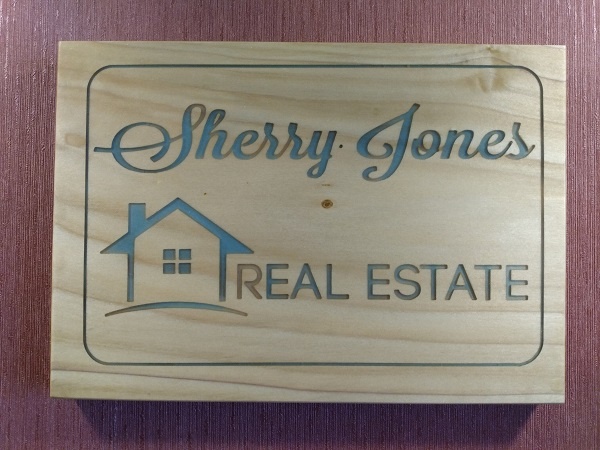
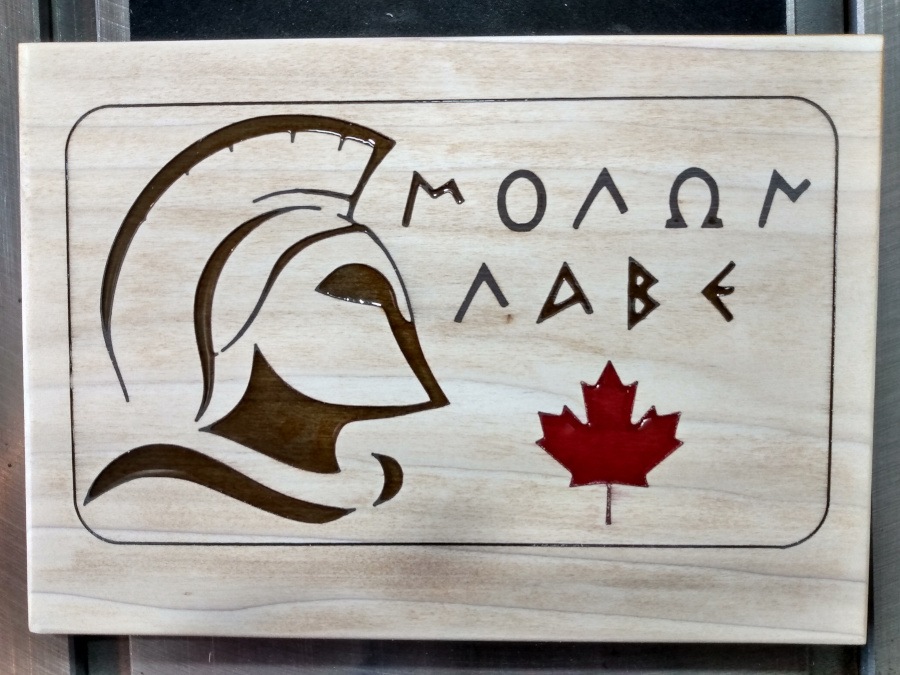
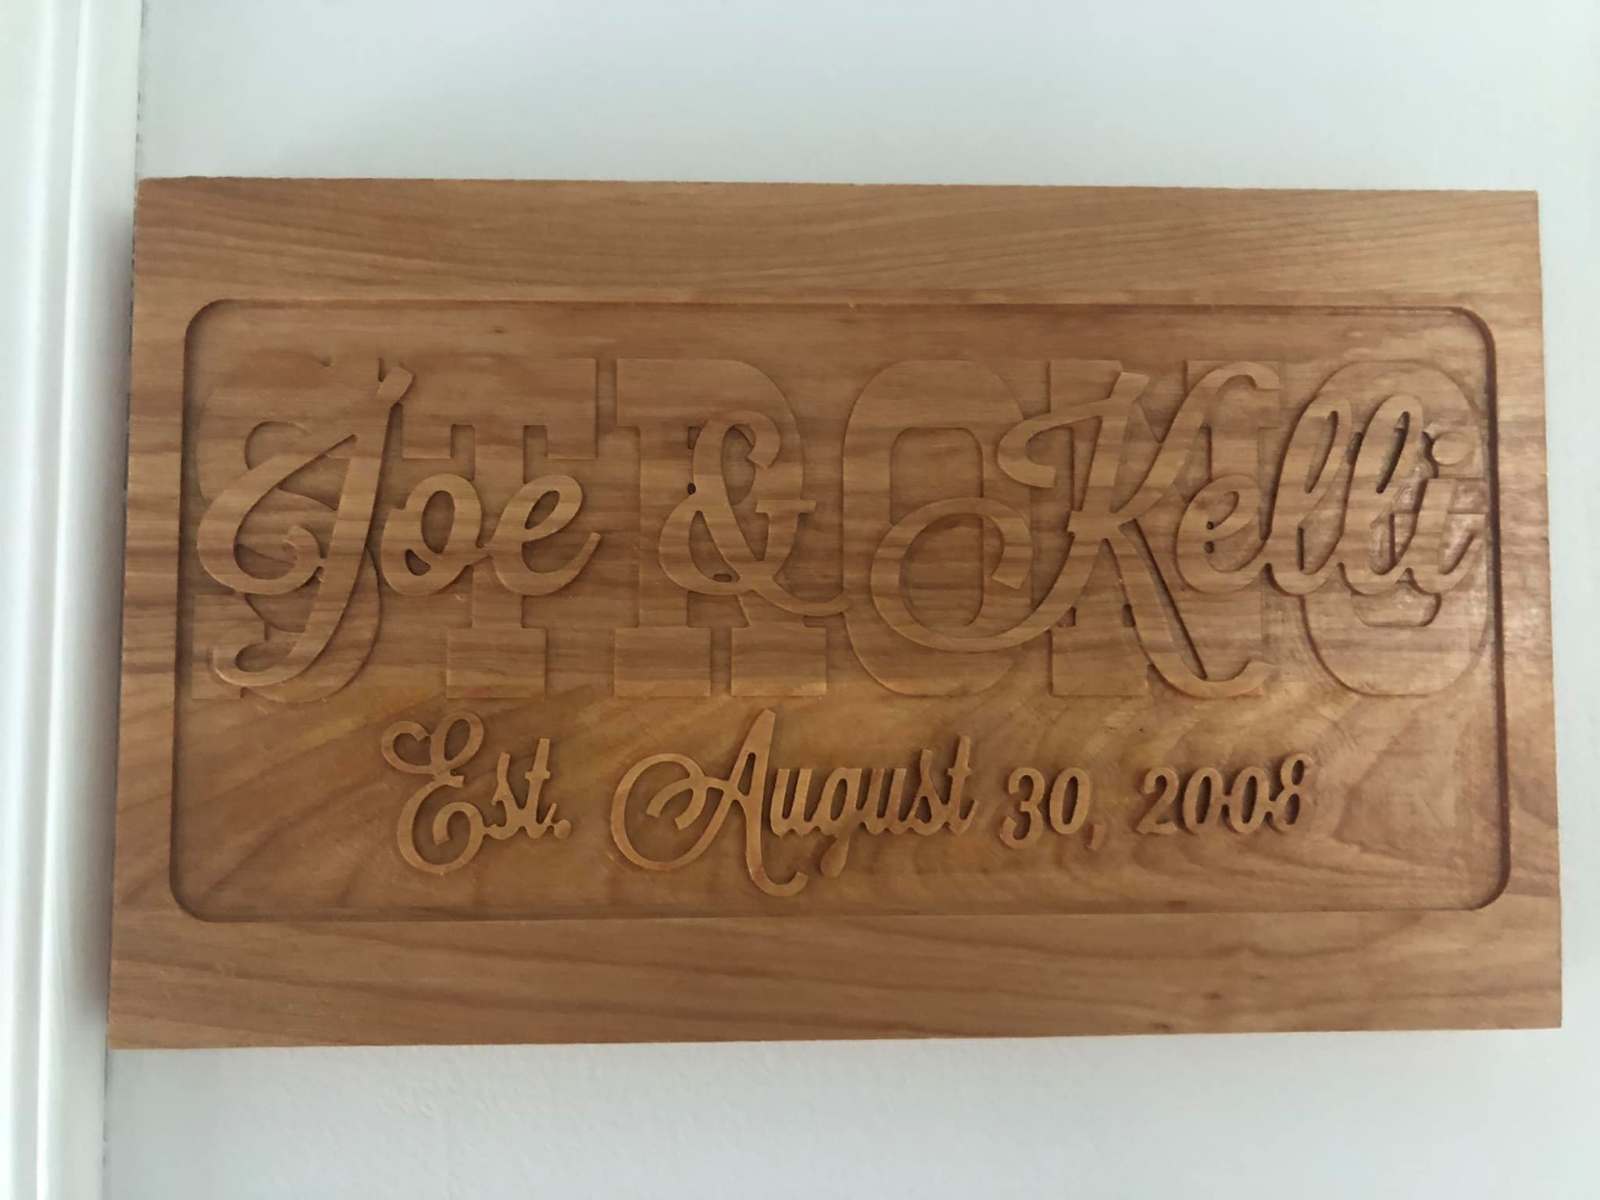
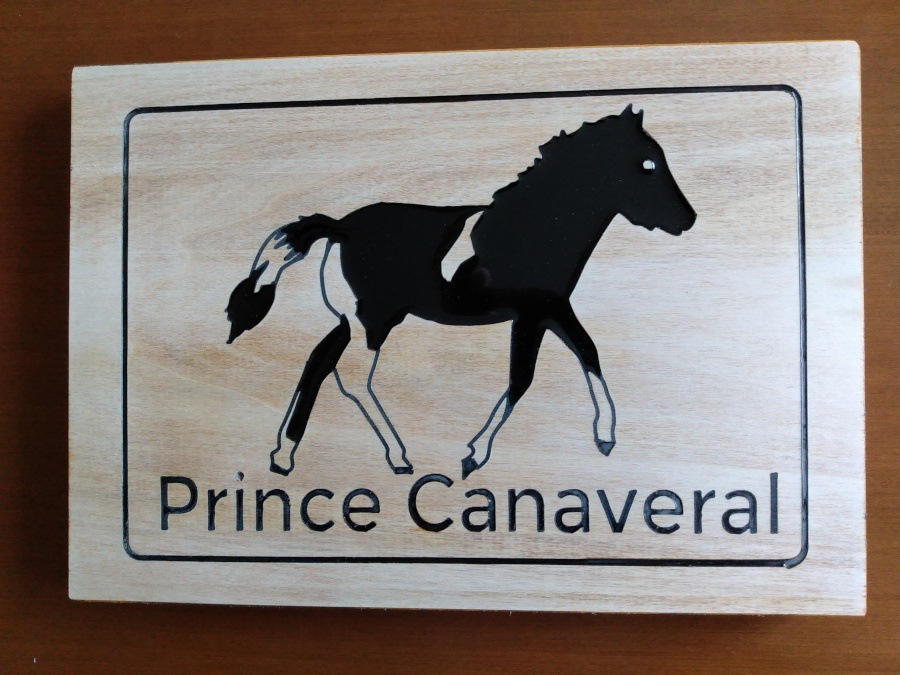
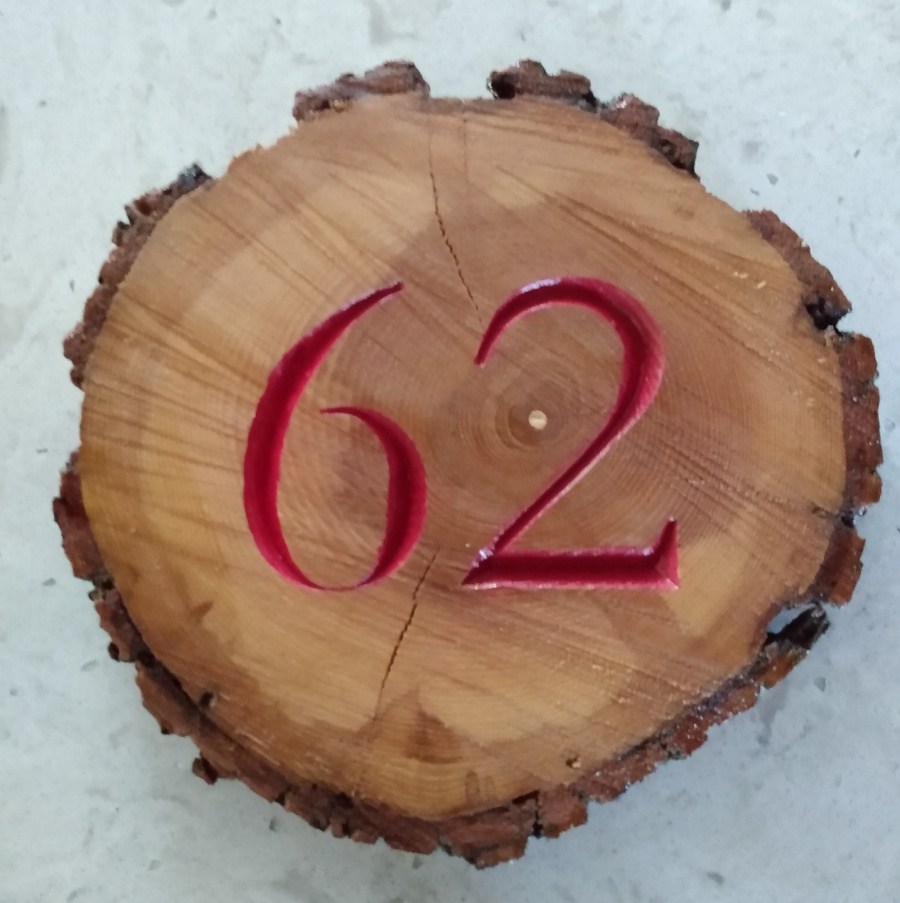
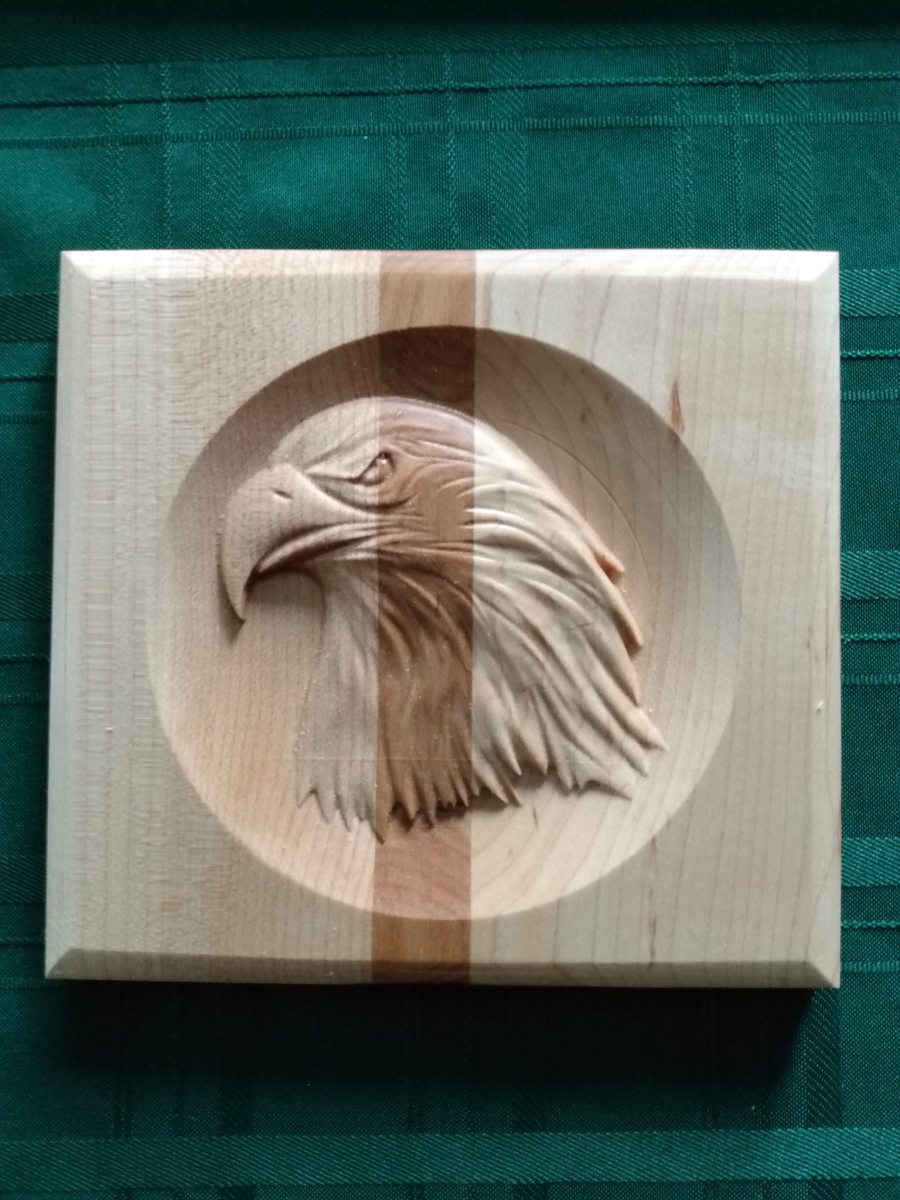
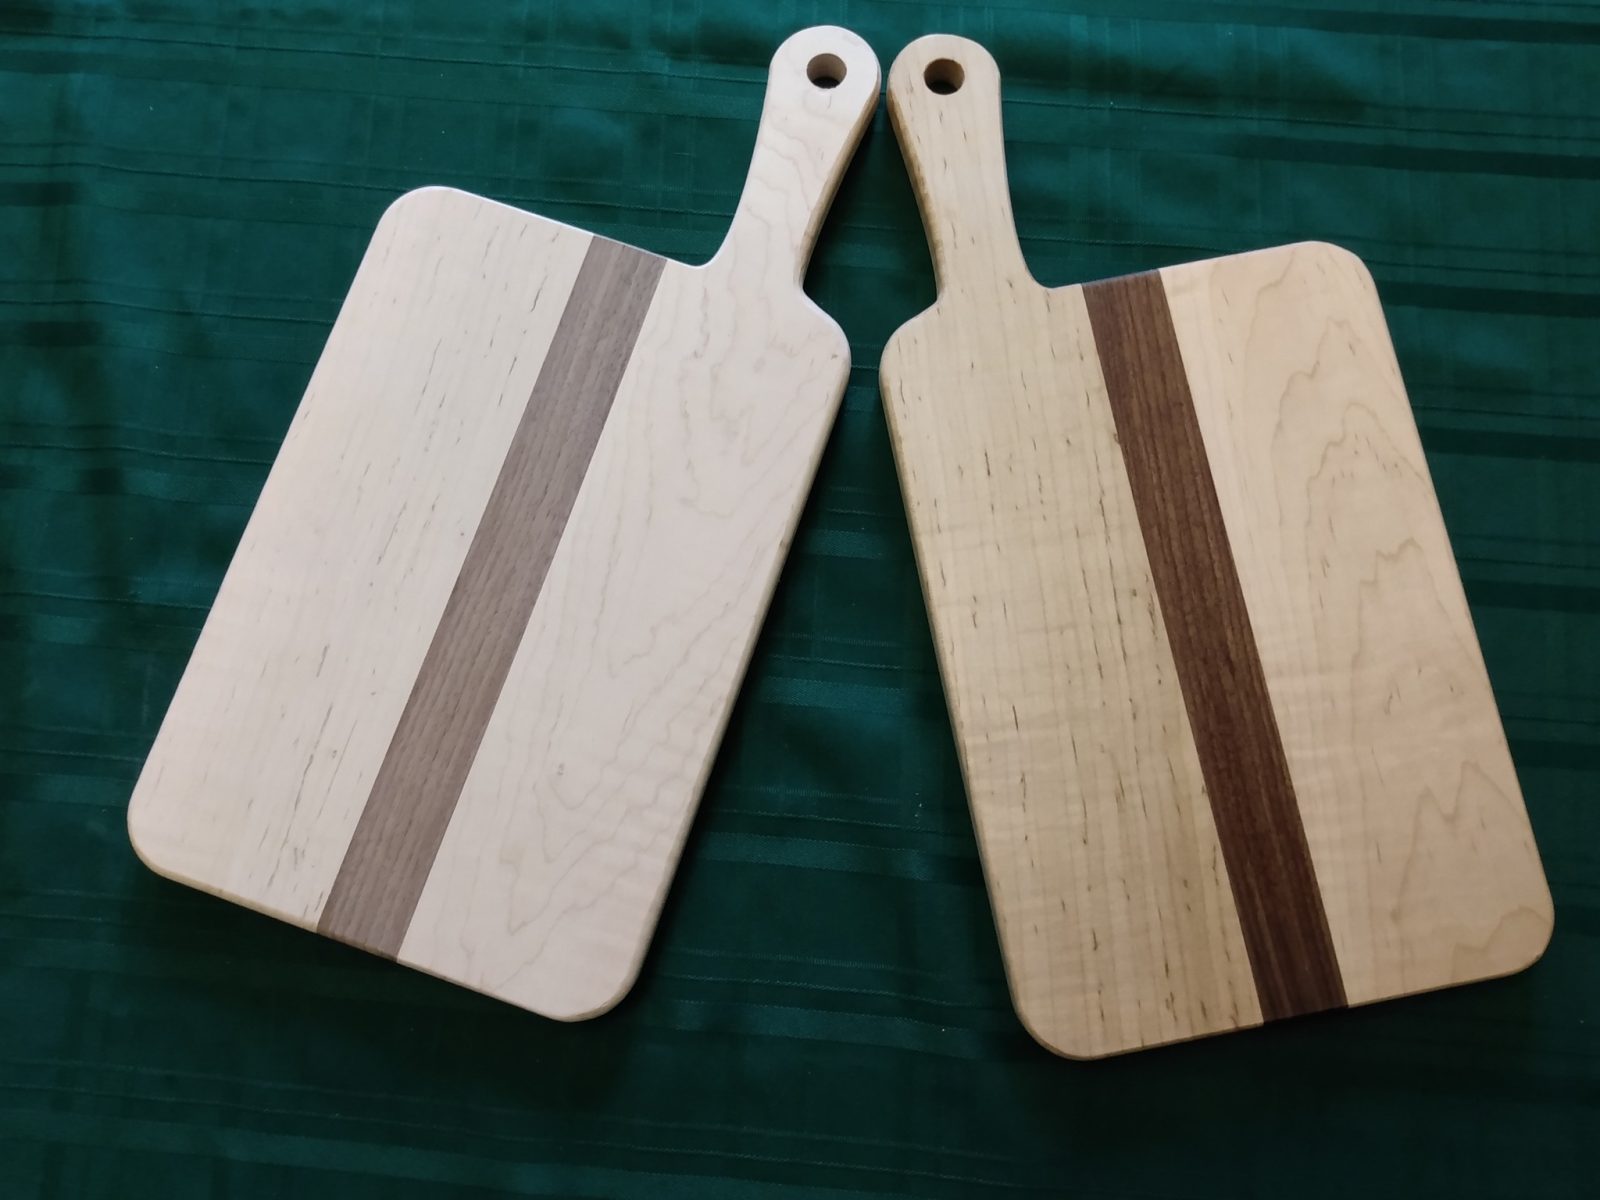
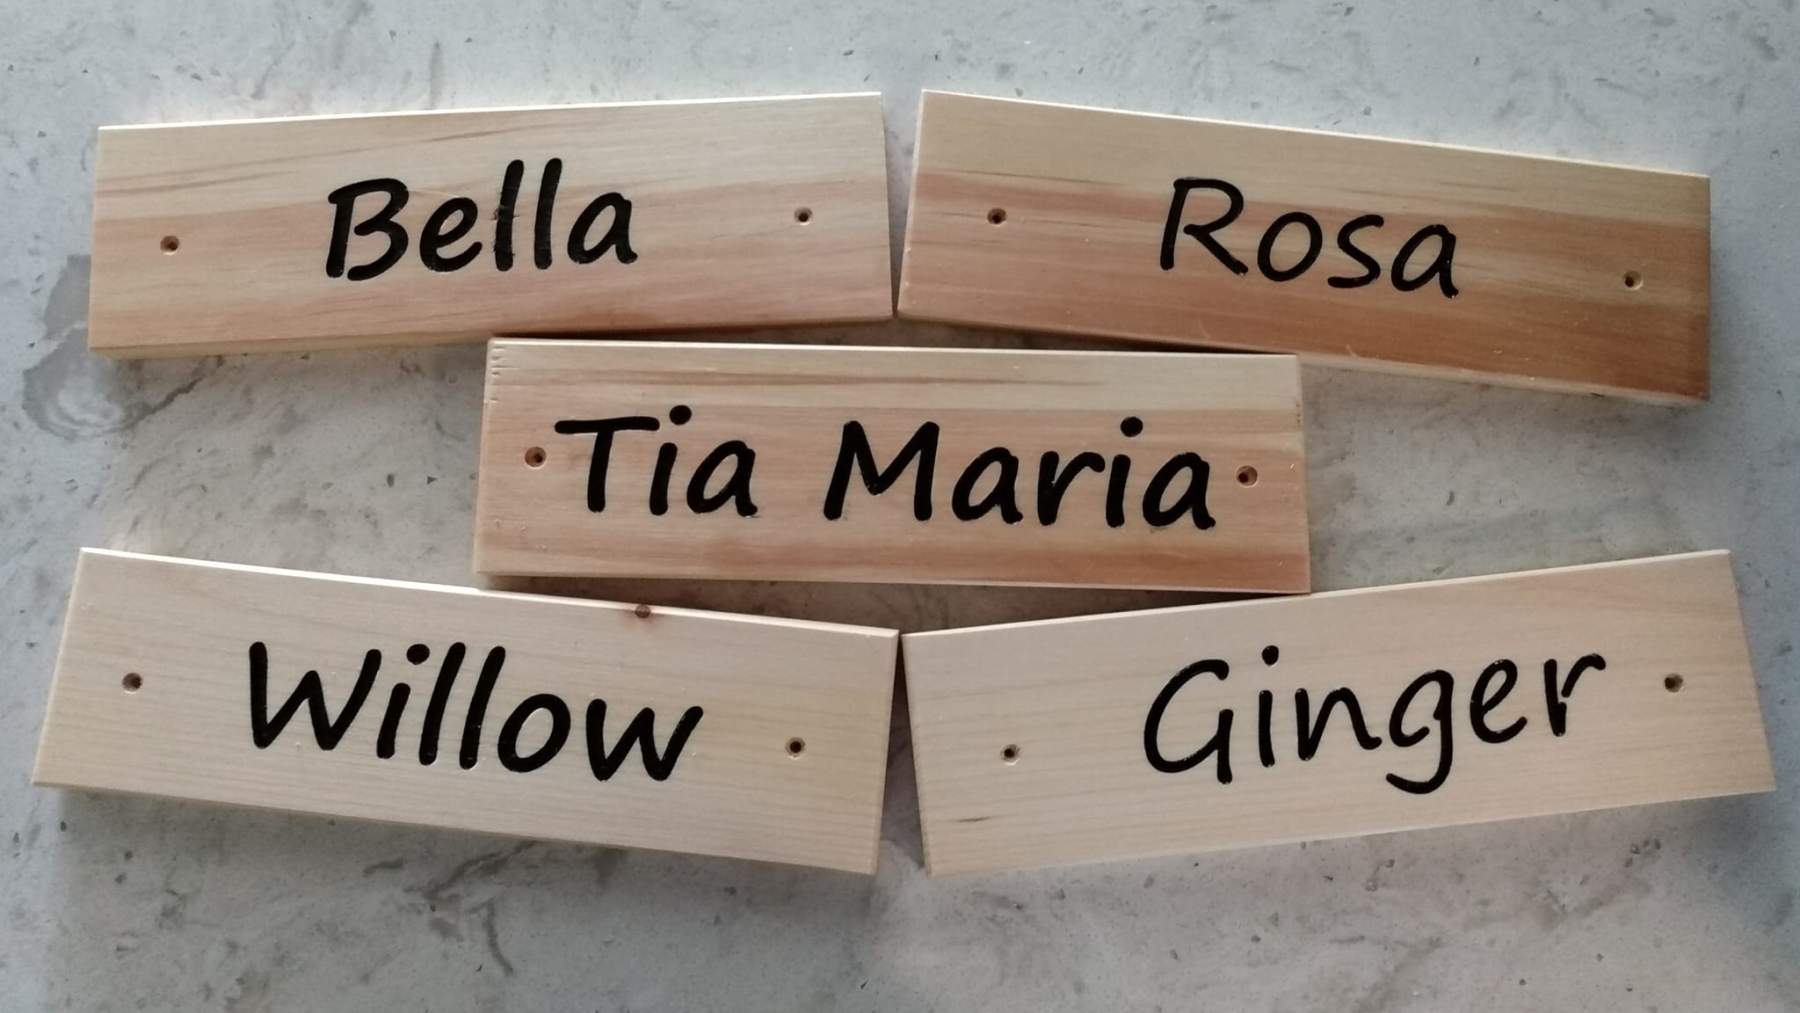
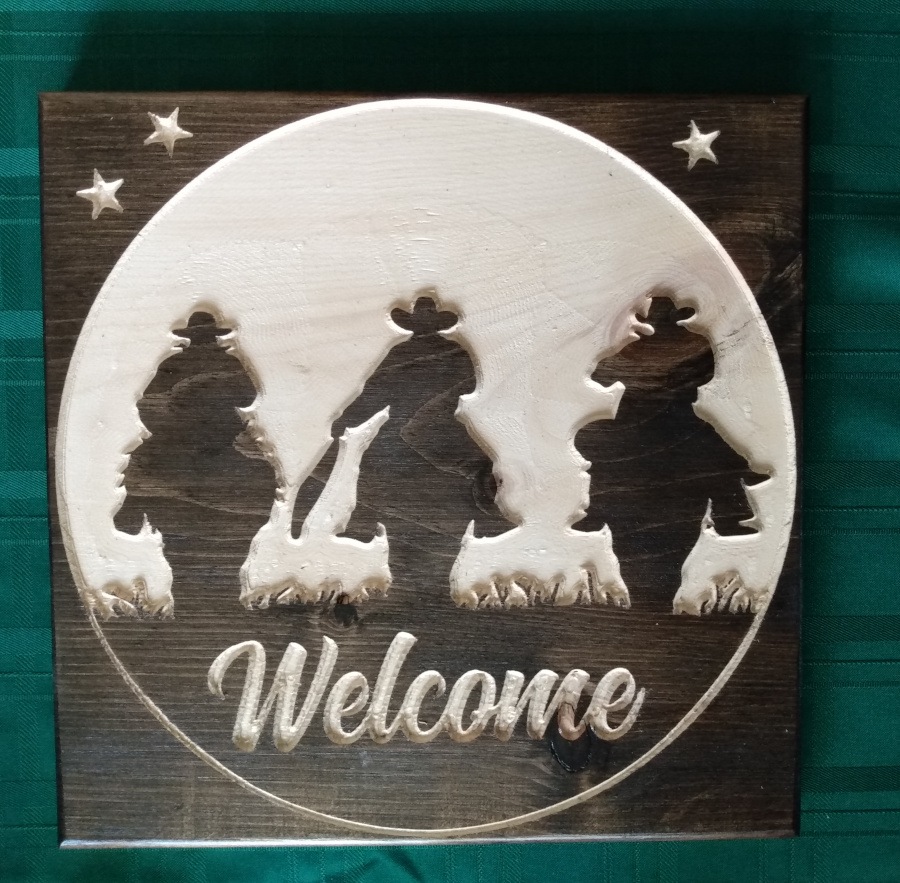
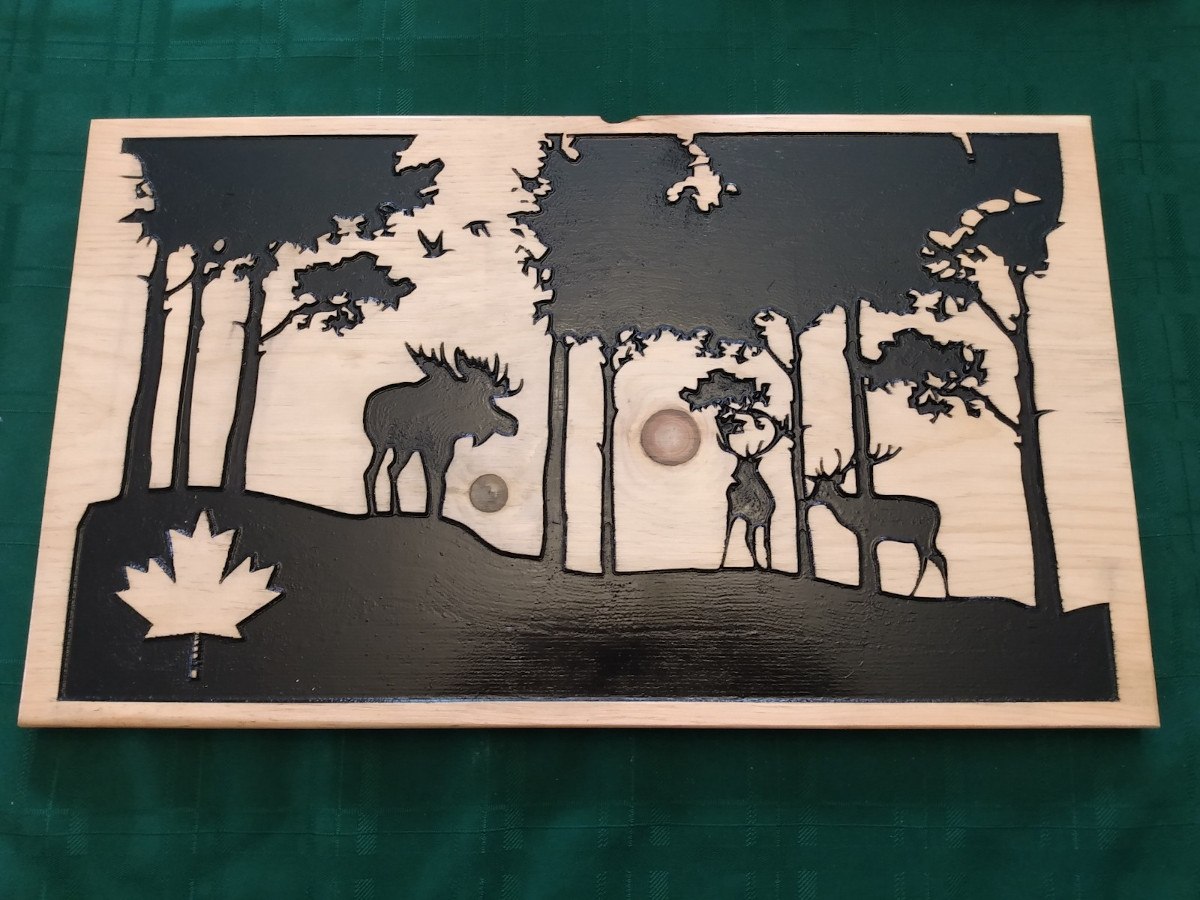
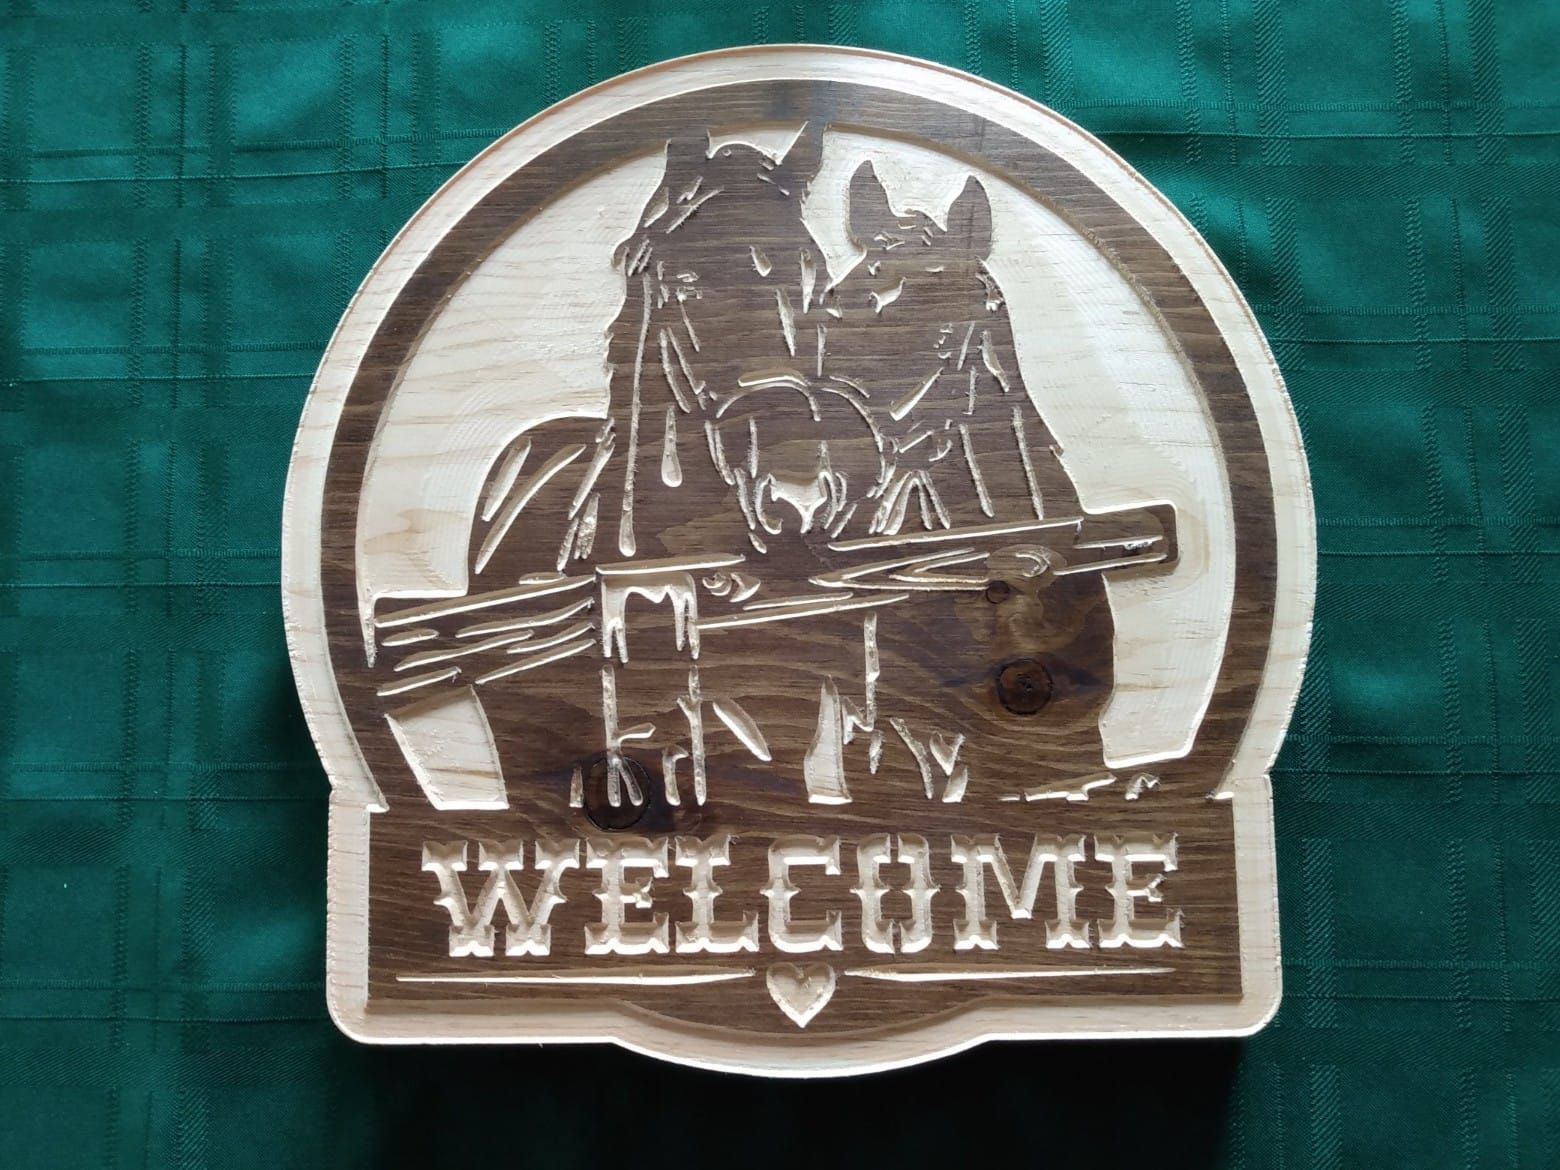
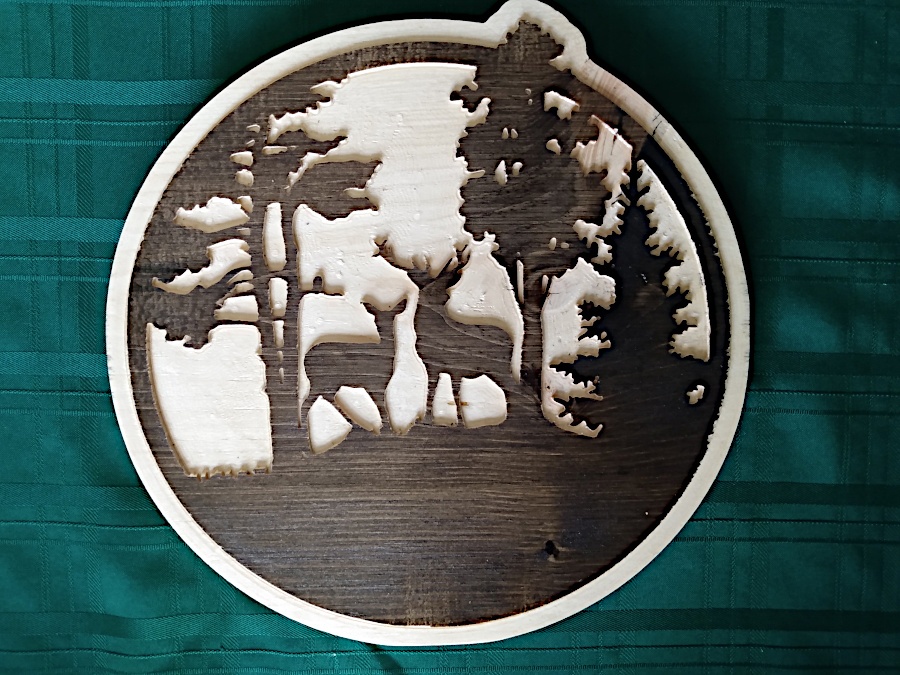
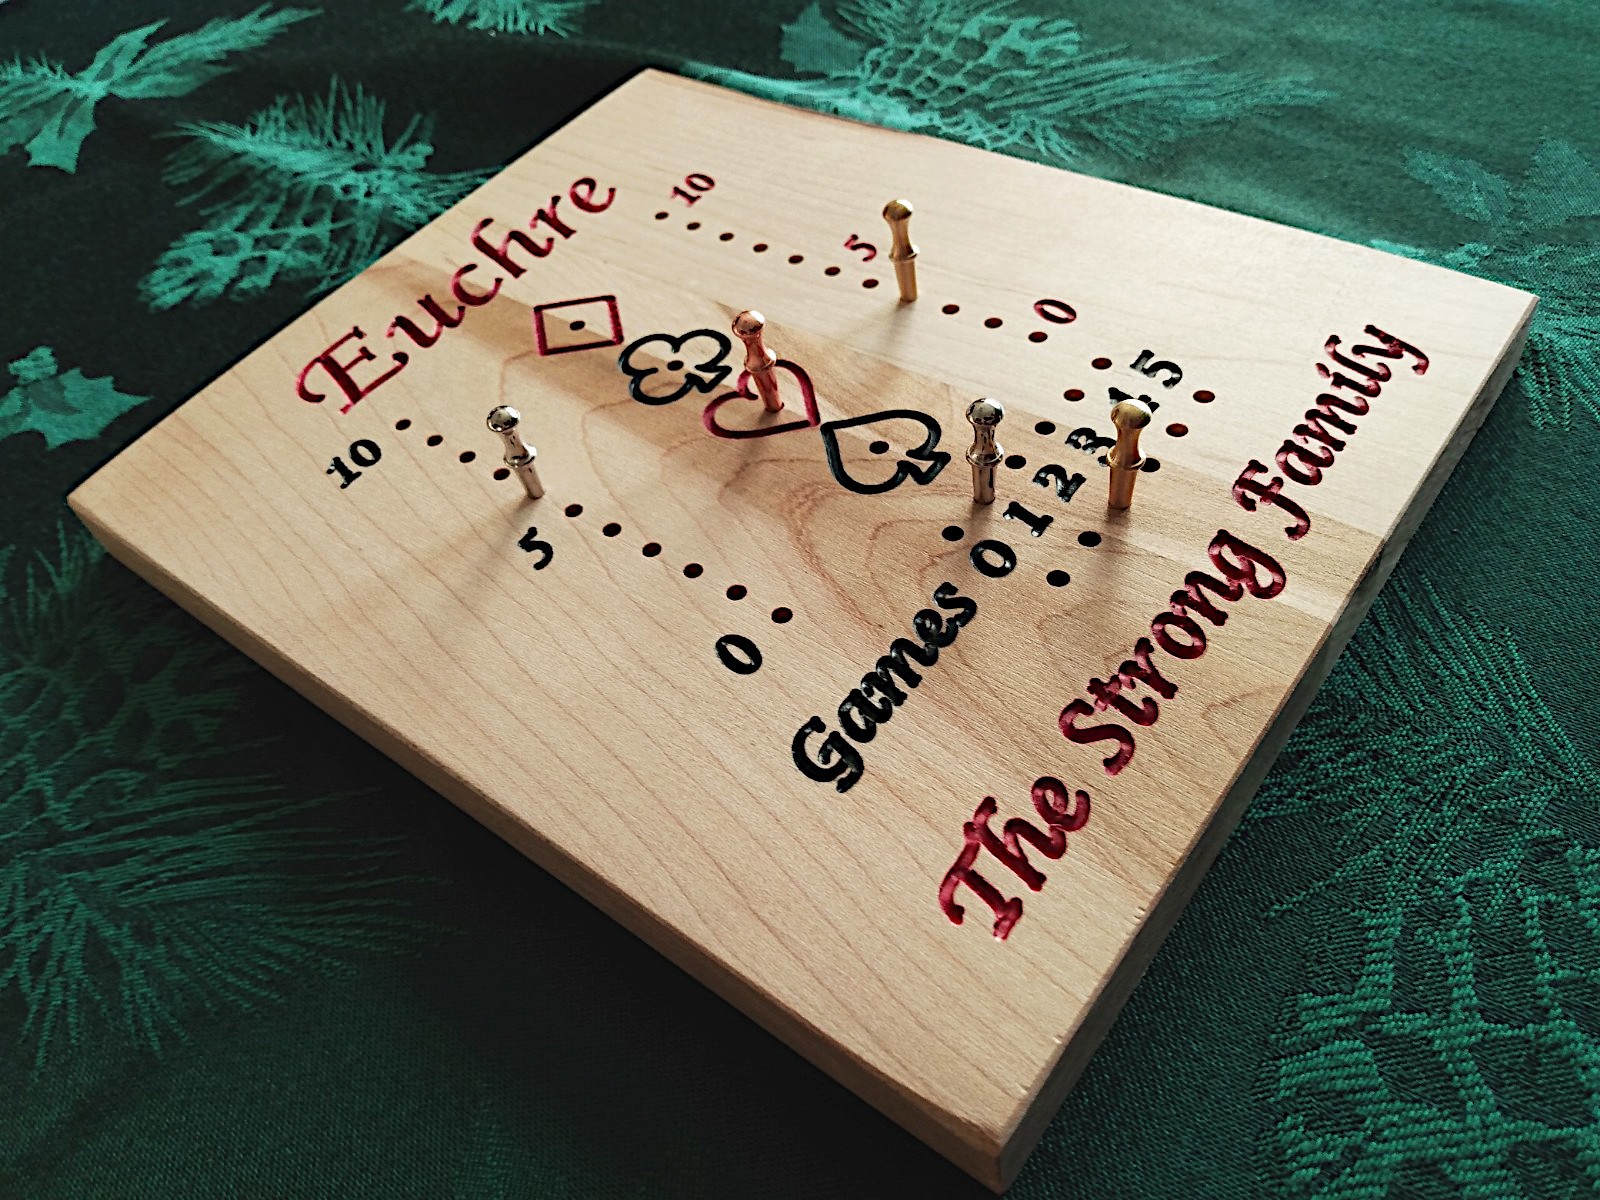
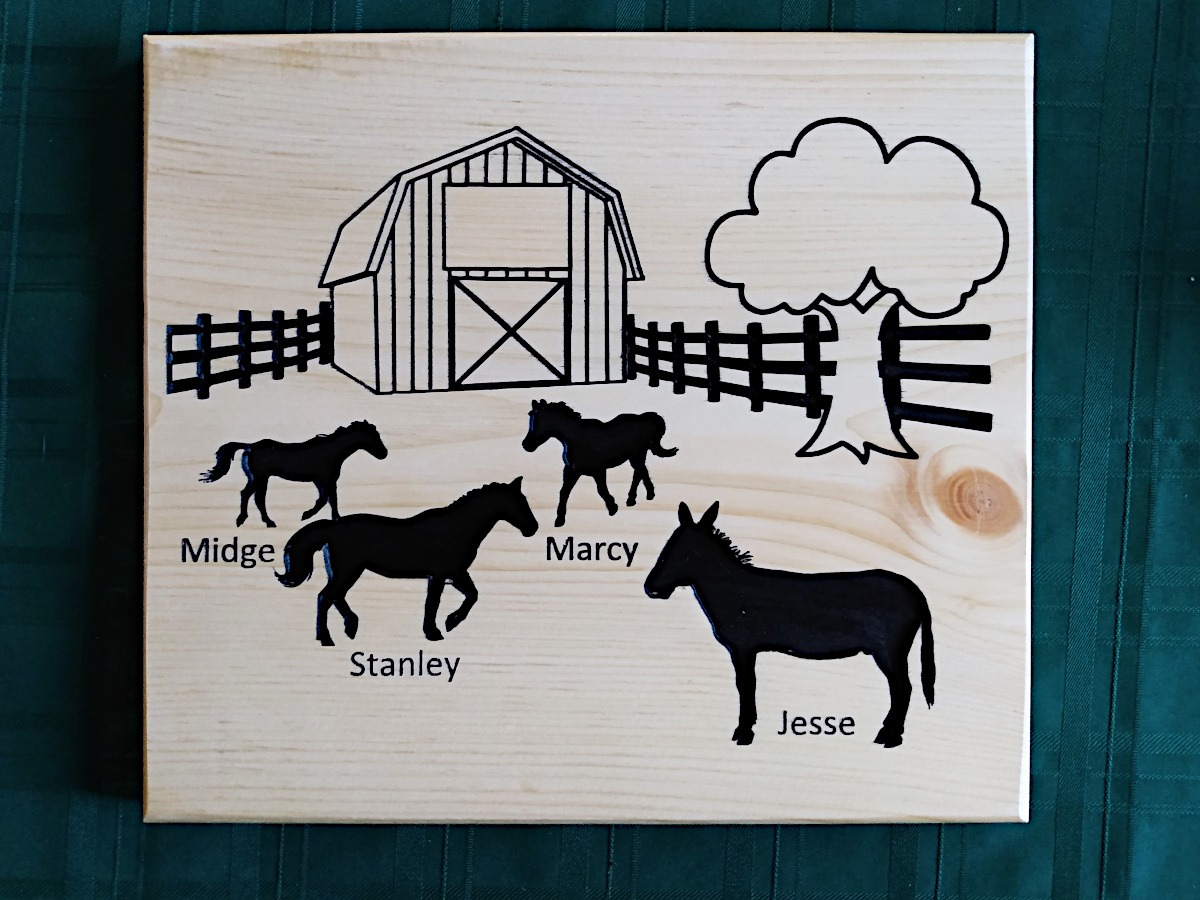
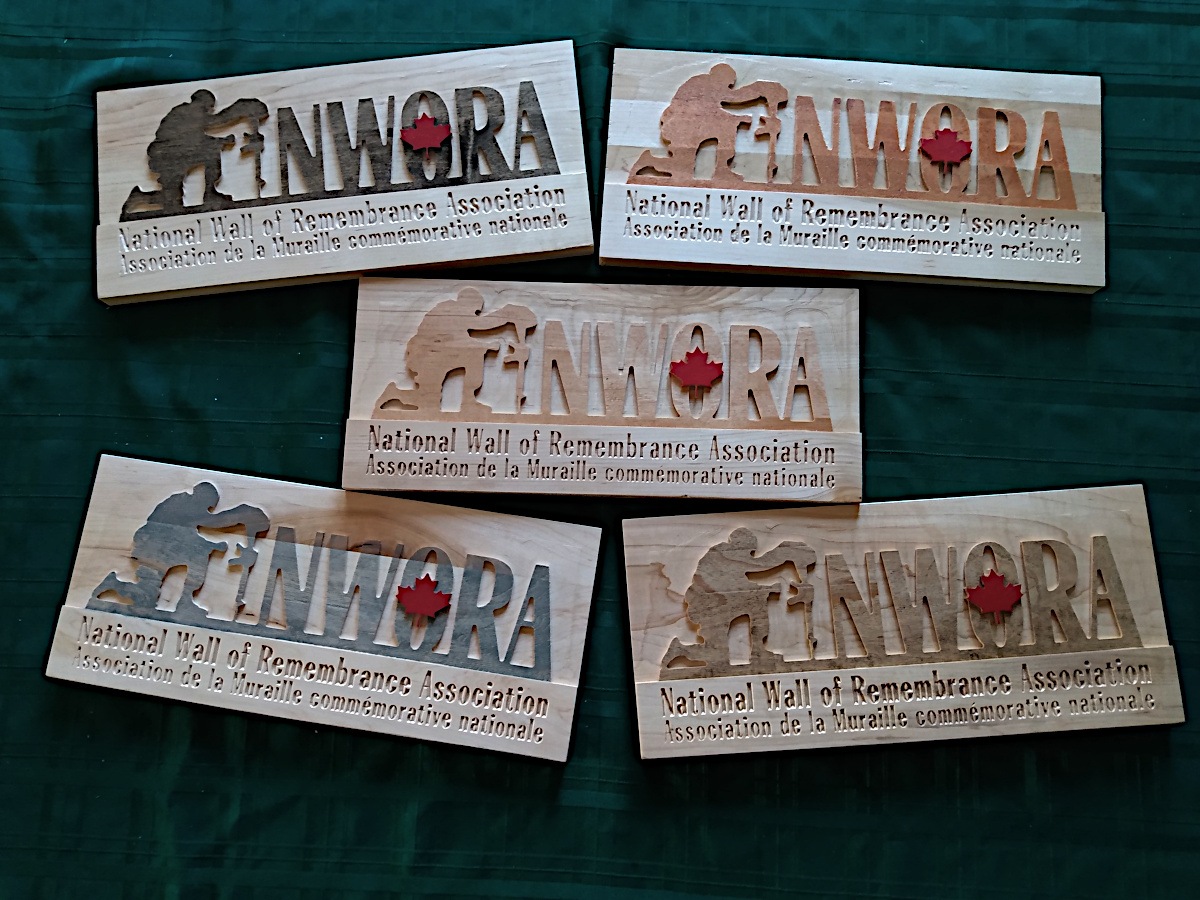
Woodworking
Shooting Sports including Cowboy Action Shooting
Software and Web design – if you would like me to make you a website, let me know.